Vocal booths come in many shapes and sizes, but they tend to have one thing in common across the board: They’re expensive. This is a very simple DIY vocal booth construction plan that can save you hundreds of dollars when you need to set up a vocal booth on a budget.
Very simple vocal booths retail for over £150 ($230 USD), and this is not abnormal. There are some products available for under £100, but also some for well over £200. With this in mind, I’m going to walk you through how to build a DIY vocal booth for well under £20. With some hunting for bargains, I actually managed to make mine in its entirety for just £11 ($17 USD). Let’s get straight into it!
Right off the bat, let me say that my vocal booth is the definition of utilitarian. The phrase “style over substance” could not be less true of this booth. It is not going to look like a swanky, modern addition to your studio (it will essentially look like a cardboard box), but what it lacks in aesthetics it makes up for in function and economy.
If you frequently have visitors to your studio and feel the need to impress them with your industry-standard equipment, then this DIY vocal booth plan probably isn’t for you. However, if, like myself, you work from home as a freelancer and just need a booth that does the job, then look no further.
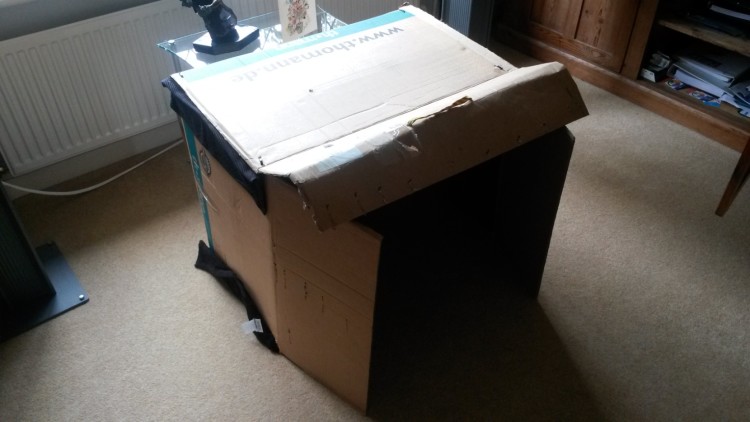
So without further ado, you can see my vocal booth below.
Okay … so it doesn’t look great. I did warn you! But trust me when I say that it works like a charm. The sound inside of this booth is completely dead. Clicking your fingers inside this box will not produce a single reflection, leaving you a completely blank slate to produce your vocals from scratch.
Let me very briefly outline the importance of this. Let’s say you record some vocals in an empty cathedral — the recording will naturally contain a lot of reverb. Now, there is nothing inherently wrong with doing this, but it does limit your ability to produce these vocals as, while you can add reverb, it is very tough to remove it.
Using a vocal booth like this means you have direct control over how much reverb you want. Also, while it’s not the direct purpose of a booth like this, it will go some way to removing any background noises you may hear. You have no idea how many times I’ve started making a recording before realizing I’ve forgotten to take the batteries out of my clock, leaving a ticking sound in the background. This booth will go some way to blocking out such noises.
Before starting work on a DIY vocal booth like this, you need to determine the size you would like it to be and acquire a cardboard box of that size. For me, the box that my studio subwoofer was shipped in was perfect because of its large capacity, but if you’d like to create a much smaller version, that’s fine.
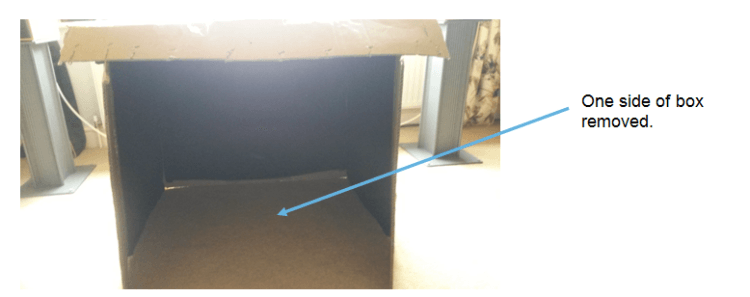
Once you have your cardboard box, you need to remove one of the sides. The side that you remove will be replaced by the floor, as shown in the picture below.
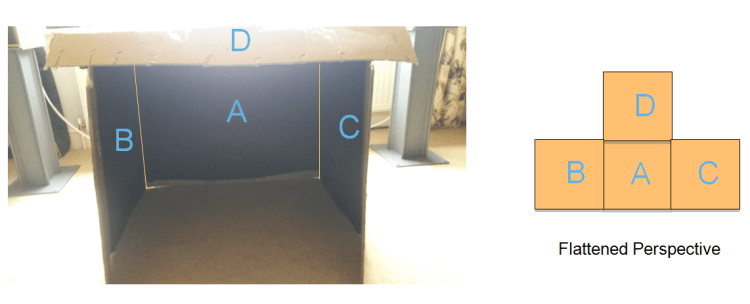
As well as removing one side, you’ll also need to cut the remaining sides free so that they’re only attached by one side. This is for two reasons: Firstly, it will make it much easier to attach the towels later on, and secondly, it will let the booth fold away so that it can be stored. Again, the picture below clarifies this — the left and right sides of the box are only attached to the back by the yellow marked edge. The rest need to be cut.
You now have the shape of the booth completed but, as it stands, it doesn’t have any real benefit in terms of deadening the sound. To do that, the walls need to be padded with a thick, non-reflective material. Towels are perfect for this and are easily available at low costs on Amazon.
I opted for hand towels and bought four: one each to cover the left, right, top, and back walls of the booth. If you are able to use the booth on a carpet, then a towel for the bottom won’t be necessary. However, if you’re resting it on a reflective surface (glass, hardwood, etc.), then feel free to rest an extra towel on the floor of the box. The towels will easily attach to the sides of the box using a staple gun — try to get as good a fit as possible, leaving minimal gaps.
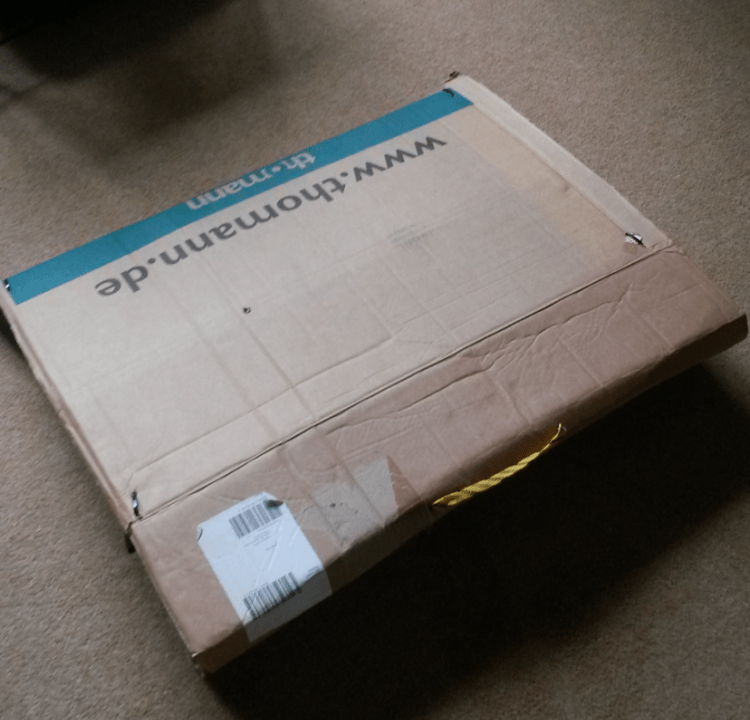
Congratulations! You now have a fully functional (albeit rustic-looking) vocal booth. Place your microphone inside this box and you will be able to hear the difference. You can also do the classic finger-clicking test to hear the lack of reflections. And, as I mentioned earlier, the sides can be folded in on each other for easy storage, as shown below. Happy recording!
Featured image by David Martyn Hunt (CC BY 2.0)


Leave a Reply